How to Make the Best Red Velvet Brownies Ever
Hi sweetie, it’s Grandma 👵 and today we’re talking brownies—Red Velvet Brownies, to be exact. If your heart skips a beat at the thought of a fudgy bite topped with creamy frosting, then stick around. These aren’t just any brownies. They’re soft, moist, and packed with love (and a touch of white chocolate too). Whether you’re baking for Valentine’s Day, Halloween, or a random Tuesday—you’re going to want this recipe in your back pocket. Let’s get that oven warm, honey, because it’s baking time! 🍰
🧁 Ingredients You’ll Need:
For the brownies:
- ½ cup (1 stick) unsalted butter, melted
- ¾ cup granulated sugar
- 1 egg + 1 egg yolk
- 1 tsp vanilla extract
- 1 tsp lemon juice or white vinegar (optional, for that red velvet tang)
- ½ cup all-purpose flour
- 2 tbsp unsweetened cocoa powder
- ¼ tsp salt
- 1 tsp strong red food coloring (like Sugarflair or Wilton)
- ½ cup white chocolate chips (optional, but oh-so-good)
For the cream cheese frosting:
- ½ cup unsalted butter, softened
- ½ cup cream cheese, softened
- 1 tsp vanilla extract
- 1½ cups powdered sugar (icing sugar)
🧑🍳 Step-by-Step: How Grandma Makes These Red Velvet Brownies
1. Preheat the oven
Set it to 350°F (175°C) so it’s ready when you are.
2. Mix butter and sugar
In a large bowl, combine melted butter and granulated sugar. Use a hand mixer and blend until smooth and glossy.
3. Add eggs and vanilla
Add 1 egg, 1 egg yolk, vanilla extract, and lemon juice or vinegar (if using). Whisk until the mixture is light and fluffy—this step is key for that dreamy texture!
4. Sift and fold dry ingredients
Sift in flour, cocoa powder, and salt. Switch to a spatula (or what I call my “paddle”) and gently fold it in. We don’t want lumps!
5. Add the color
Time for that vibrant red! Use a strong red food coloring to avoid adding too much (supermarket brands can mess up the taste). One good spoonful is enough.
6. Stir in white chocolate chips
These are optional, but trust me—they melt beautifully into the fudgy base. Fold them in until evenly distributed.
7. Prepare your pan
Line an 8×8 inch baking pan with parchment paper. Pro tip: Use a second pan to press the paper into shape!
8. Pour and bake
Pour your batter in, smooth it out, and bake for 20 minutes or until the top is crisp and it no longer jiggles.
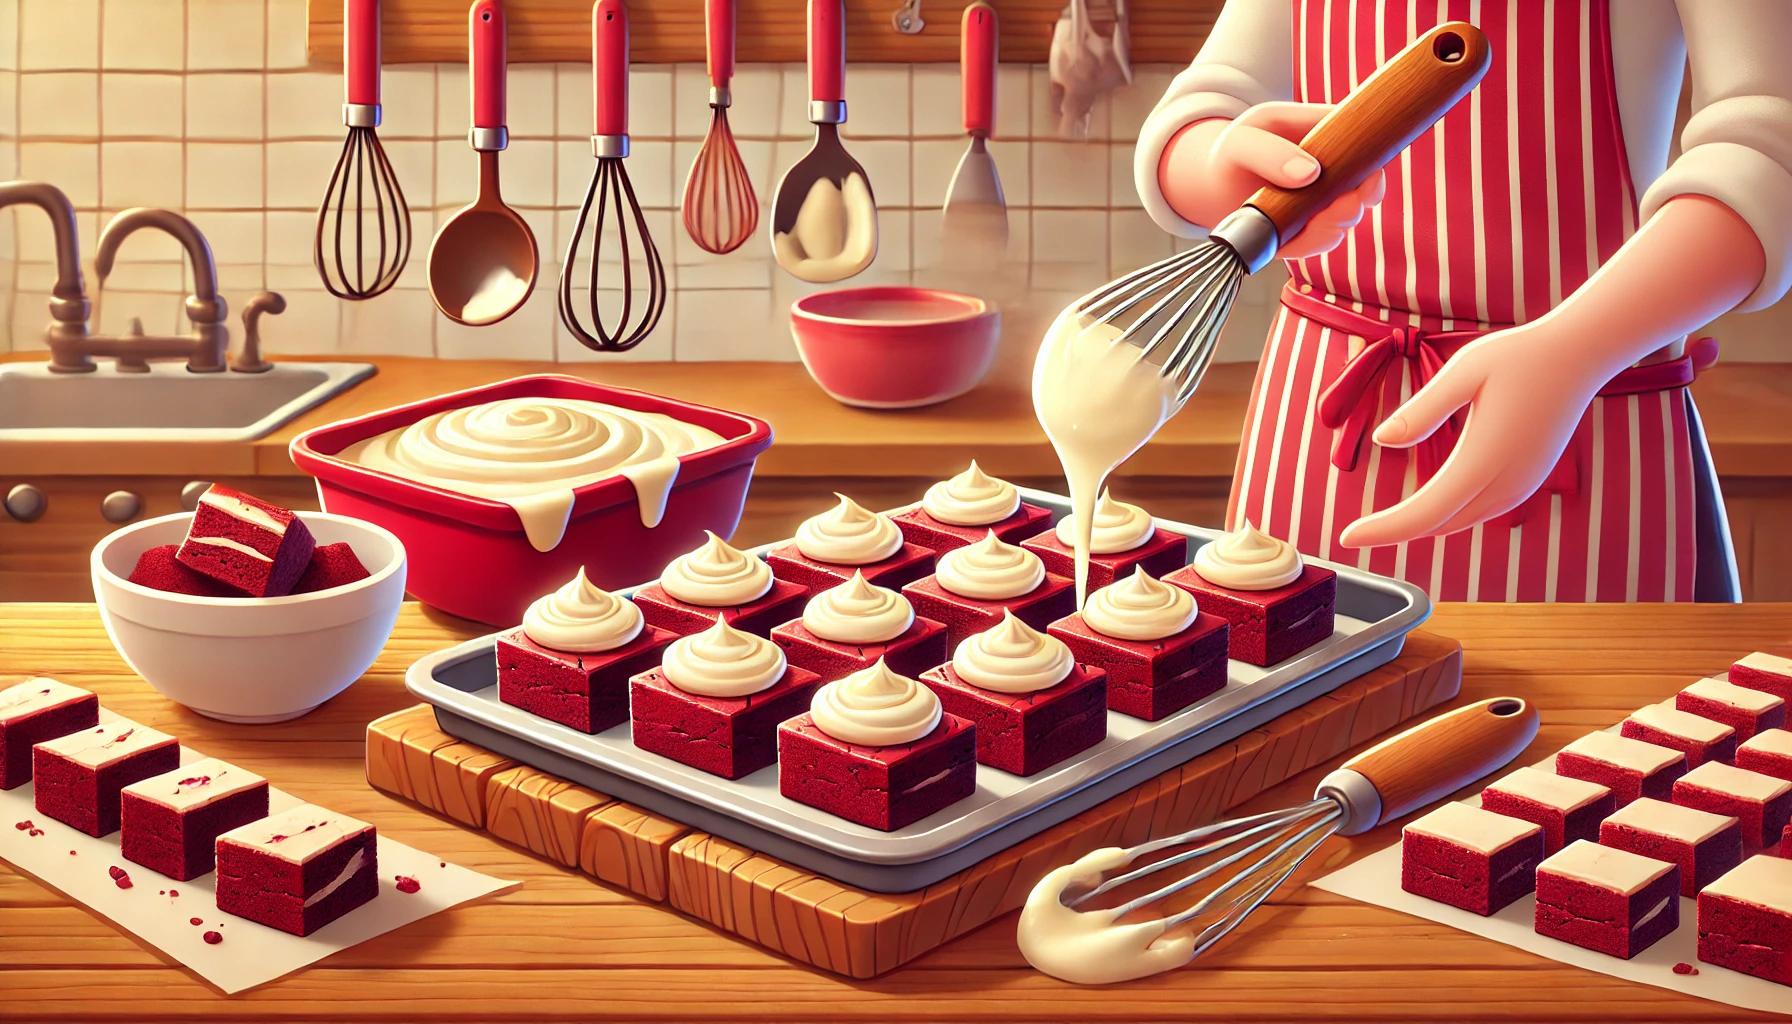
❄️ Let’s Make the Frosting While It Cools!
In a bowl, beat together softened butter and cream cheese until smooth. Add in vanilla extract, then gradually beat in the powdered sugar. You want a thick but spreadable texture.
🎉 Assemble and Serve
Once the brownies are completely cool, spread the frosting generously on top. Decorate with festive sprinkles if you like—hearts, stars, or even googly eyes for Halloween fun. Cut into 16 squares and serve. You’ll love the contrast of that slightly crisp top with the soft, fudgy center and sweet cream cheese frosting. 🤤
👵 Grandma’s Tips for Perfect Red Velvet Brownies
- Use concentrated red coloring. Supermarket versions can ruin both the flavor and the texture.
- Don’t skip the cooling time. It makes slicing neater and keeps the frosting from melting.
- Try adding sprinkles or chopped nuts on top if you’re feeling fancy.
❓ FAQ
Q1: Can I make red velvet brownies ahead of time?
Yes! Store them in the fridge for up to 5 days. Let them sit at room temp before serving.
Q2: Can I skip the food coloring?
You can, but then they’ll just be brownies. The red is part of the fun!
Q3: Can I freeze red velvet brownies?
Absolutely. Wrap them individually and freeze for up to 2 months. Thaw overnight in the fridge.